As a young kid, I read as if books were truly sustenance. I devoured books for hours. Pretty soon I could honestly say that I had read every book in the children’s chapter book section at my library. I took a book with me everywhere, finding every possible window of time to read just a little bit more. I would often even read several books at one time, rotating between them whenever one got too boring. Because of my on-the-go habits, often the most random objects would become bookmarks. Napkins, straw wrappers, even a dirty sock from time to time!
Now that I am older, I have a much greater sense of respect for a good bookmark. I love the satisfied feeling of opening a book and taking out a pretty marker. The best part is, that there are so many easy and effective ways to make personalized bookmarks in your home. You do not have to possess special supplies or even a crafty nature. You can make these for yourself or a friend- they will appreciate a gift so practical and made especially for them.
#1 The Beaded Bookmark
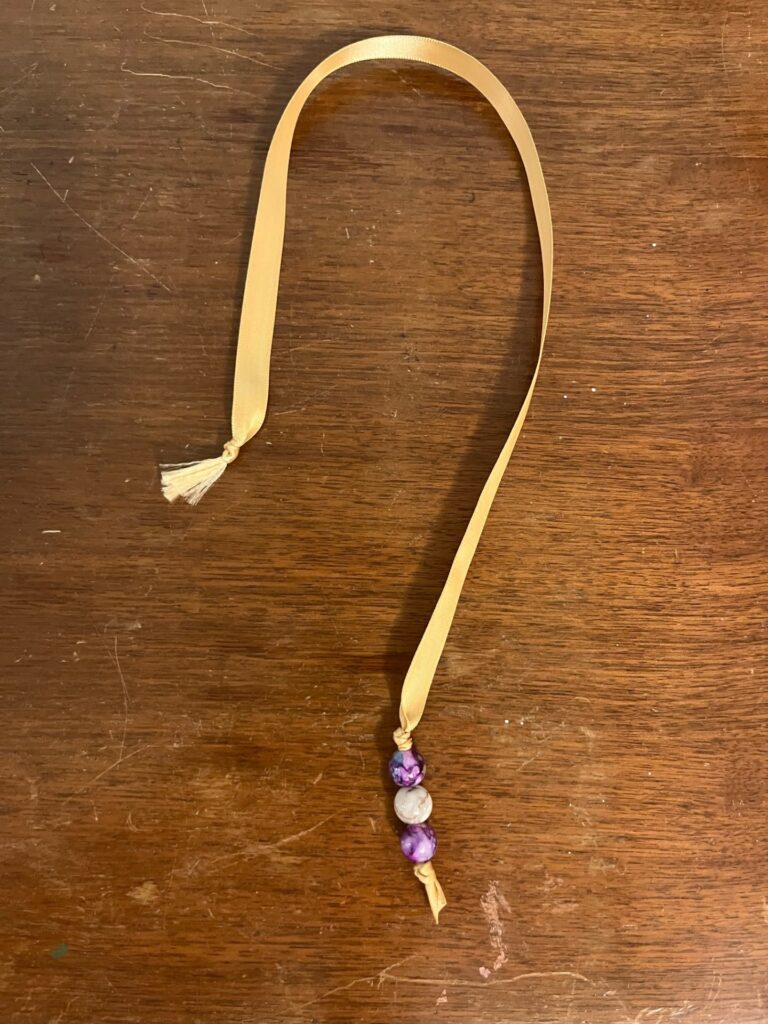
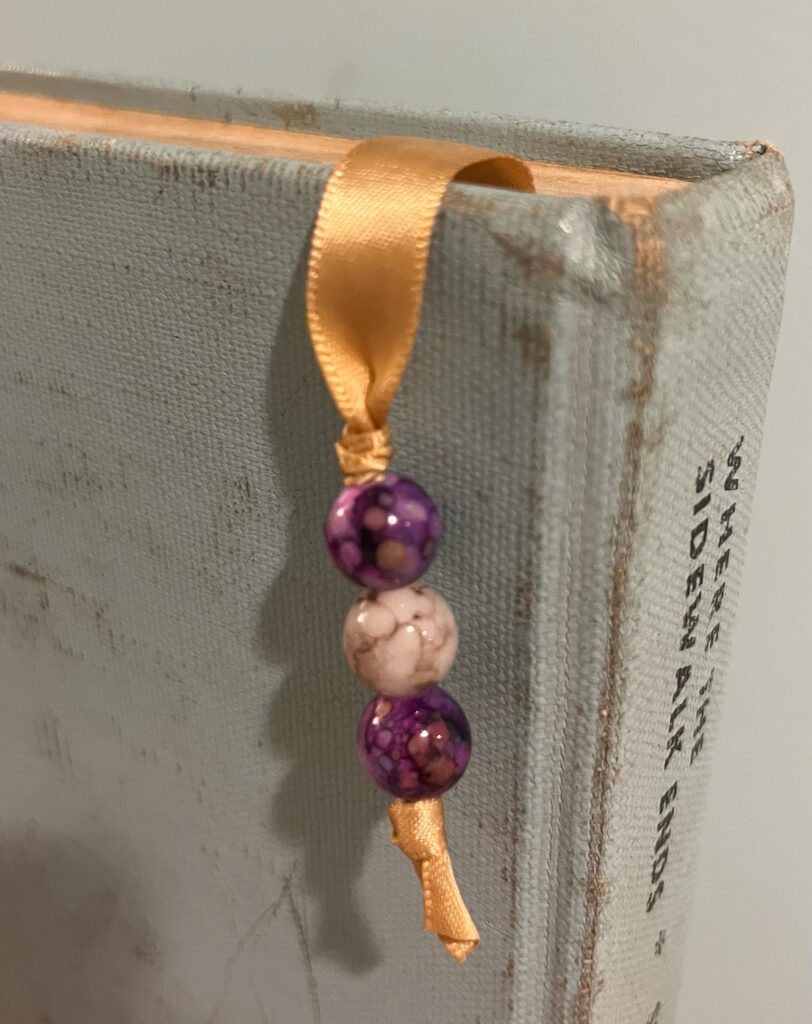
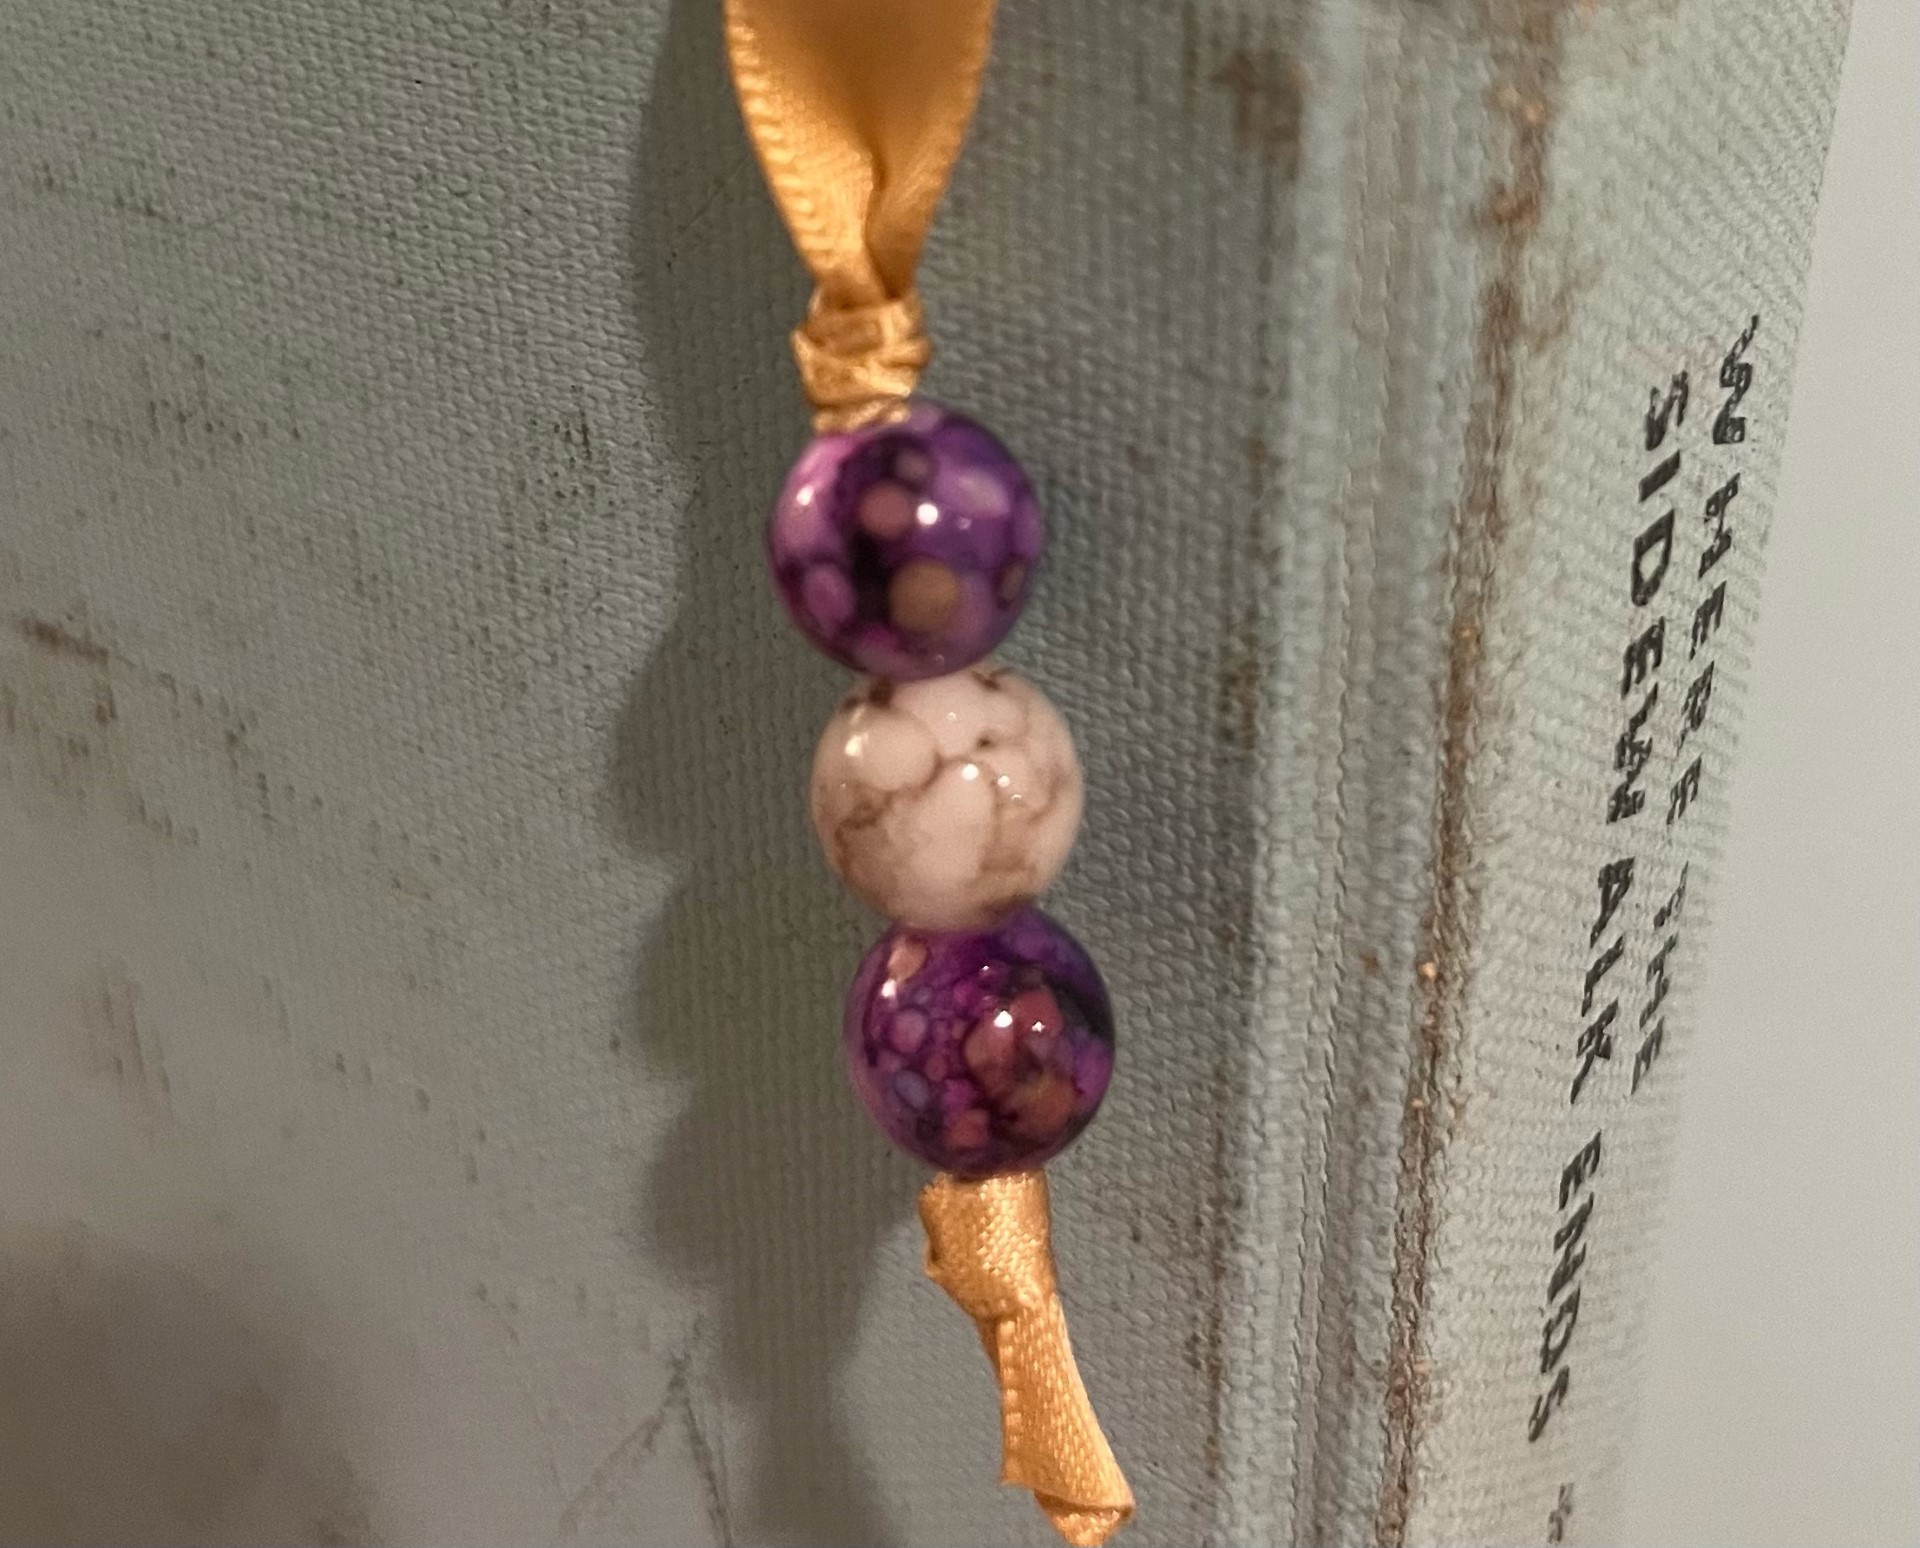
This is a distinguished and beautiful option. It is a perfect gift for that friend who loves looking classy and put together. If you are a fan of collecting the books with the looks, this might be the best way to complement them.
Supplies:
- A piece of ribbon
- Beads of your choice
Instructions:
- Tie a knot on one end of the ribbon.
- Tie a knot close to the other end, leaving room for your beads and another knot.
- String the ribbon through your beads.
- Tightly tie a knot on the other side of your beads.
#2 The Paperclip Bookmark

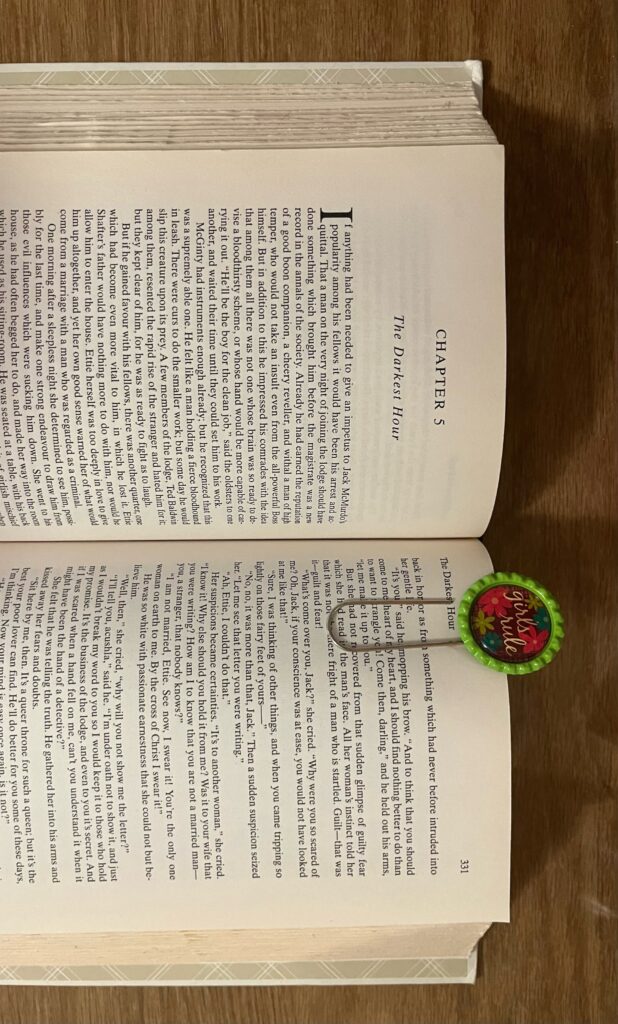
This one is a great craft to do with children. They are not the only ones who can benefit from this though! It has plenty of potential. The bottle cap can be replaced by pom-poms, felt figures, and more. Make it your own!
Supplies:
- Bottle cap
- Small paper circle with a design
- Large paperclip
- Hot glue gun/ glue sticks
Instructions:
- Cut the circle to fit inside the bottle cap.
- Hot glue it to the interior of the bottle cap.
- Hot glue the bottle cap to the head of the paperclip.
#3 The Clothing Tag Bookmark


This one is less of a project and more of a recycling journey. However, this is one of my favorite things to use as a bookmark and I had to give it a spot. If you buy nicer clothes or sometimes even any clothes, the clothing company will often put a thick tag featuring their logo tied with a ribbon. If the company has an aesthetically pleasing or minimalist logo, these tags work perfectly as bookmarks and look amazing! Next time you go shopping, check for these handy labels.
#4 The Bow Bookmark
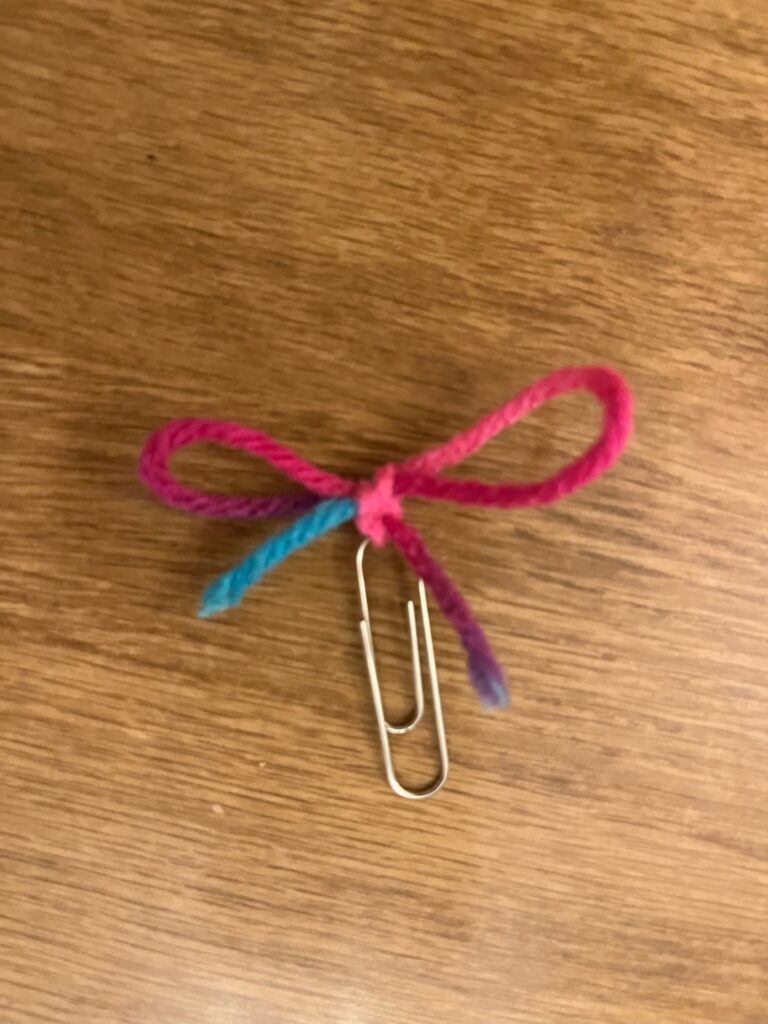

These bookmarks are simple but adorable. They look great when in the book and are small and easy to keep track of. Another bonus- you do not have to worry about them falling out! Perfect for a quick fix to bookmarking issues.
Supplies:
- Small Paperclip
- Piece of ribbon, yarn, or string
Instructions:
- Hold the ends of the string so that they overlap each other, with the end of the paperclip inside the loop created.
- Put one end of the string through the loop and pull tight.
- Finish by tying a bow, being sure to make it tight.
#5 The Laminated Bookmark
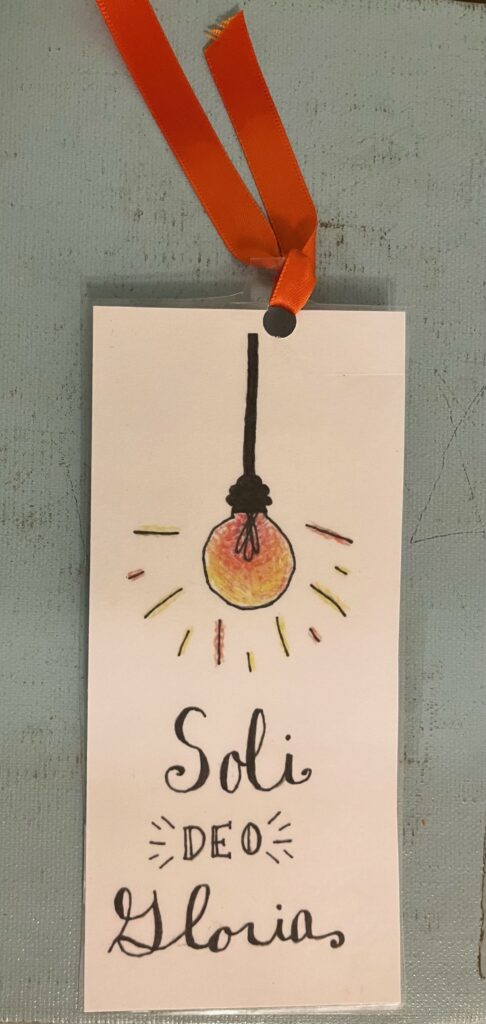
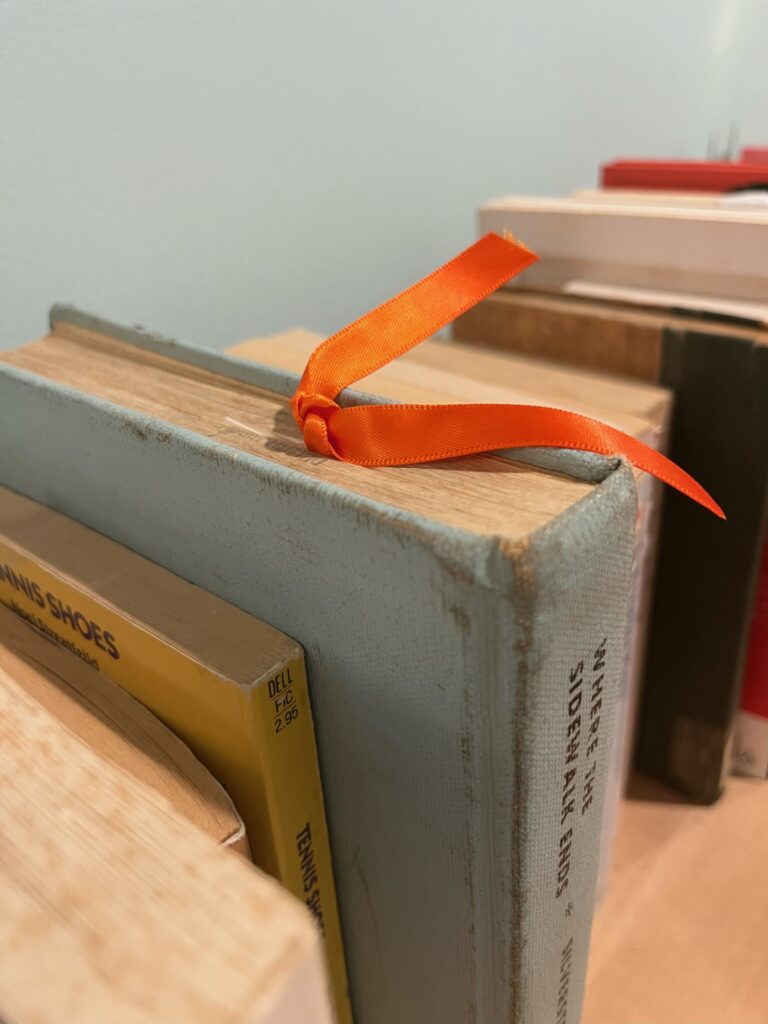
This is the most personalizable option. You can put any design on this one. If you are an artist, making it for someone special, or hoping to have a nice image to look at often, this is the thing for you. Feel free to put your own personal spin on this design.
Supplies:
- A piece of cardstock of desired size with a design on it, either printed or hand drawn
- A piece of ribbon
- A laminator
- A hole puncher
Instructions:
- Laminate the cardstock, trimming the edges down as far as possible without touching the edge of the paper.
- Punch a hole through the top.
- Tie the ribbon through the hole, double knotting.
I hope these bookmarks have sparked some fun creativity in you. Stay tuned for more projects and fun ways to get your brain and hands moving in the future!
